Body Kit Installation
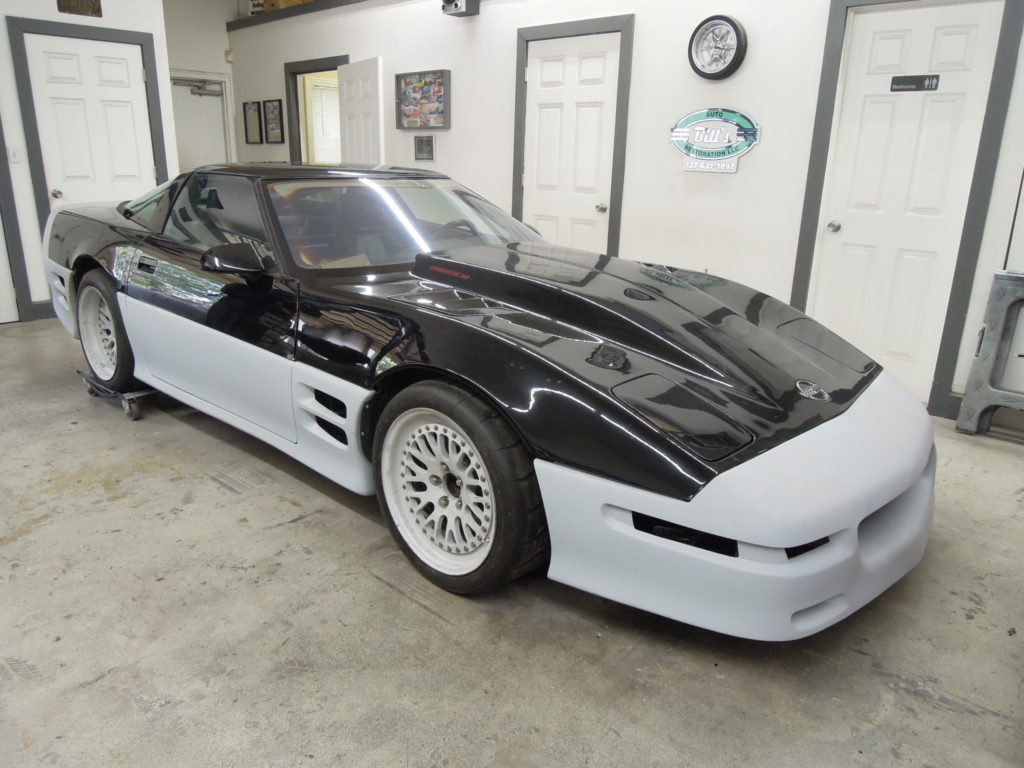
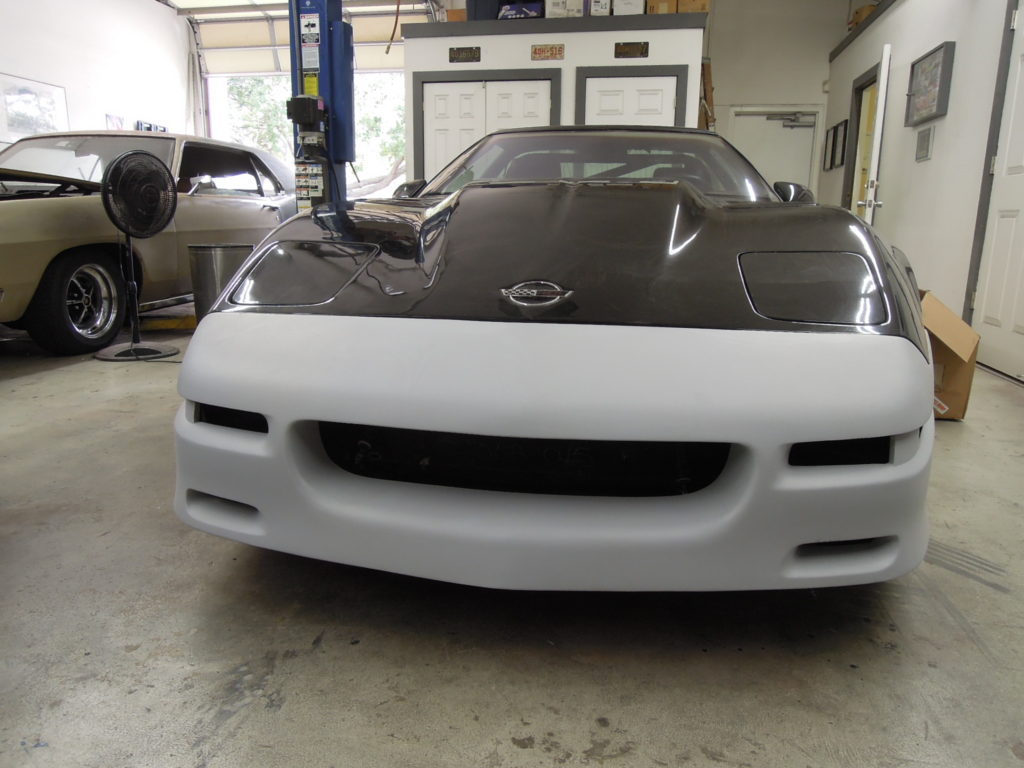
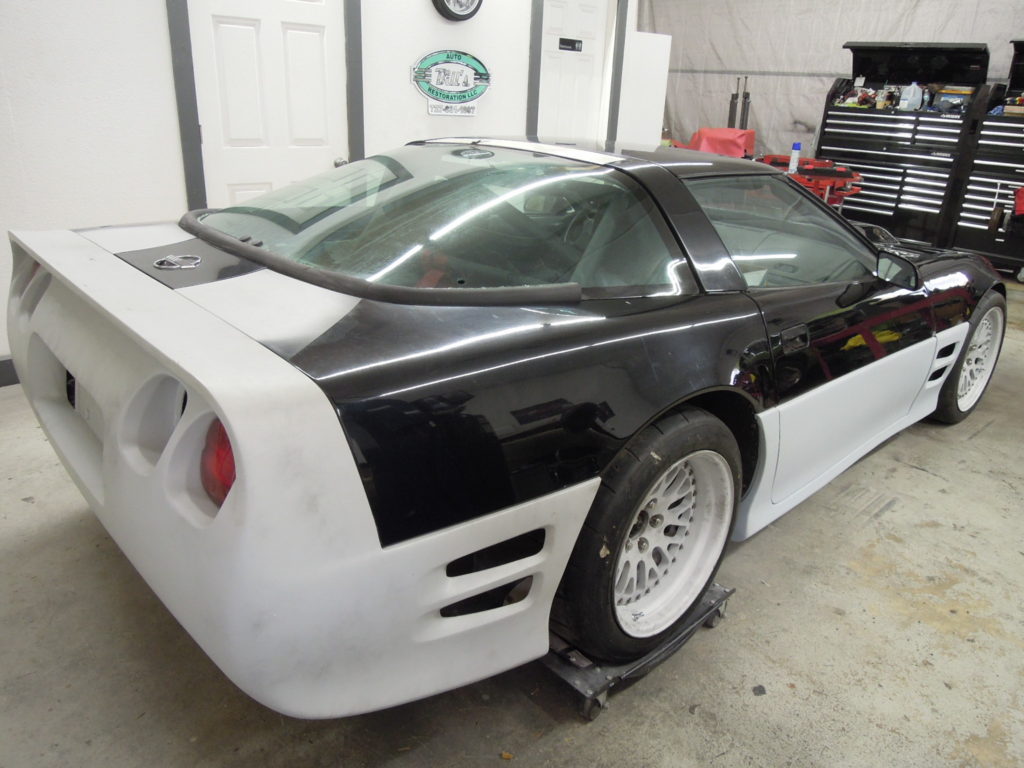
We had an opportunity to work on a truly legendary car model a while ago. In 1990, Chevrolet built the ZR1 Corvette which went on to set the 24 hour speed endurance record that stood for many years. Aftermarket performance builder John Ligenfelter saw the potential in the ZR1 and proceeded to take the car to the next level of performance. The Ligenfelter ZR1 Corvettes were absolutebeasts on the street and track and are rare cars today. At some point Ligenfelter decided to make a body kit available to customers that bought one of his 1990 ZR1 performance models. There’s a long story behind these body kits but in the end only four were actually produced. By the time#4 was made the fiberglass molds were a mess. The resulting parts were very rough and difficult to install. Getting them to look good after they were installed was even more challenging.
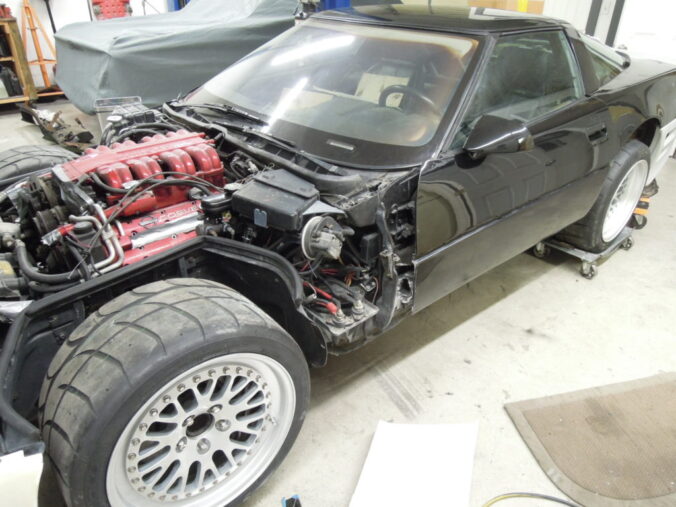
Jumping ahead a couple of decades, we had the opportunity to install body kit #4 on a local ZR1 with a long racing history at Sebring. Other shops had already attempted to install this kit and given up. During their attempts tomake the parts fit, they made the already bad parts even worse.
Despite thehistory with this kit, we decided to give it a try. No guts , no glory, right ?
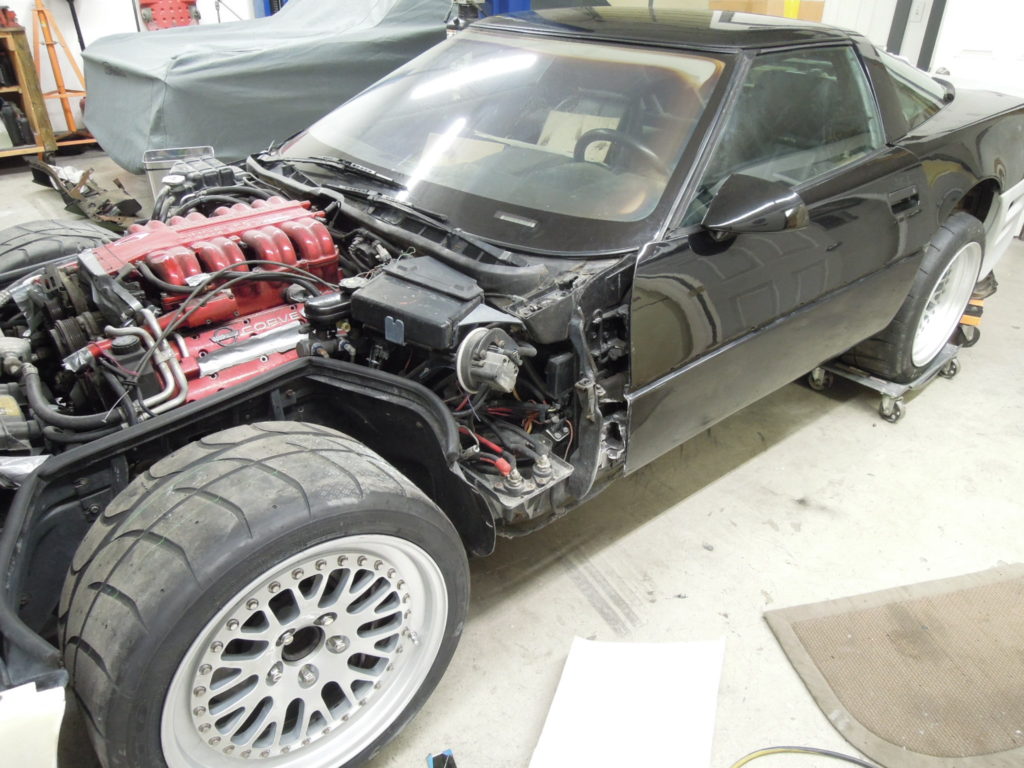
Due to the mold problems, many of the mounting locations were damaged. Other shops had made matters worse by improperly cutting the parts in an attempt to make them fit
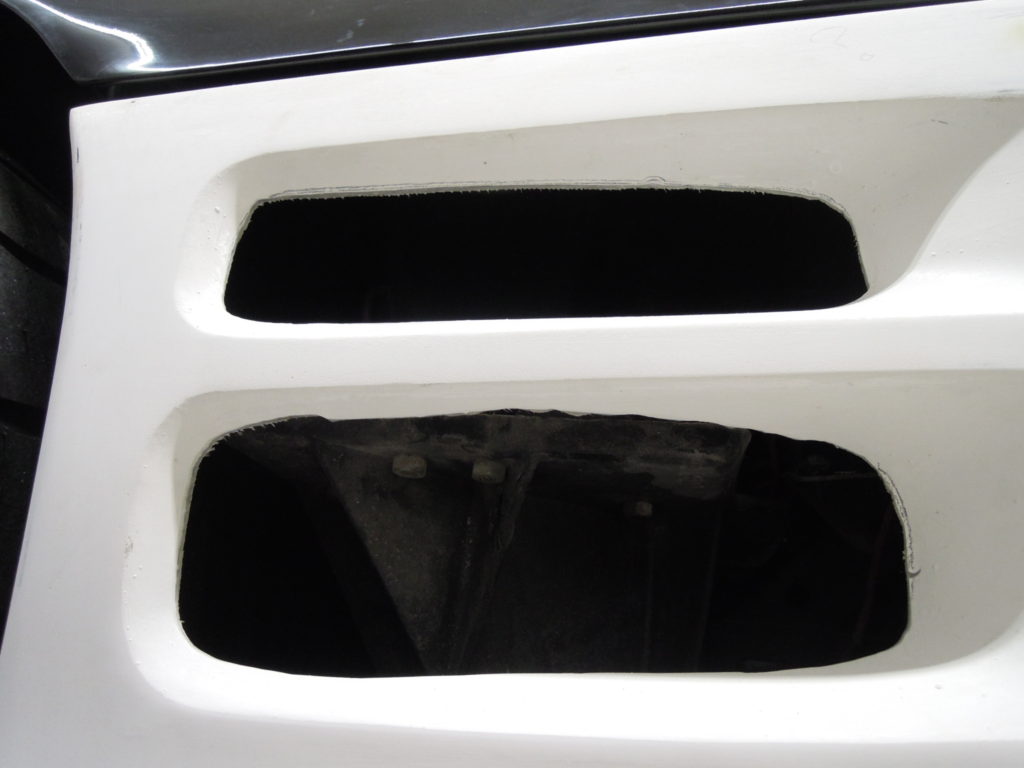
We started with a rough mock-up to see why everyone before us had so much trouble. What we found were parts that just didn’t fit the car no matter how you tried to install them. Errors were made in the original mold tooling that resulted in a complicated mess. The parts generallylined up with each other but were out of synch with the body lines of the car.
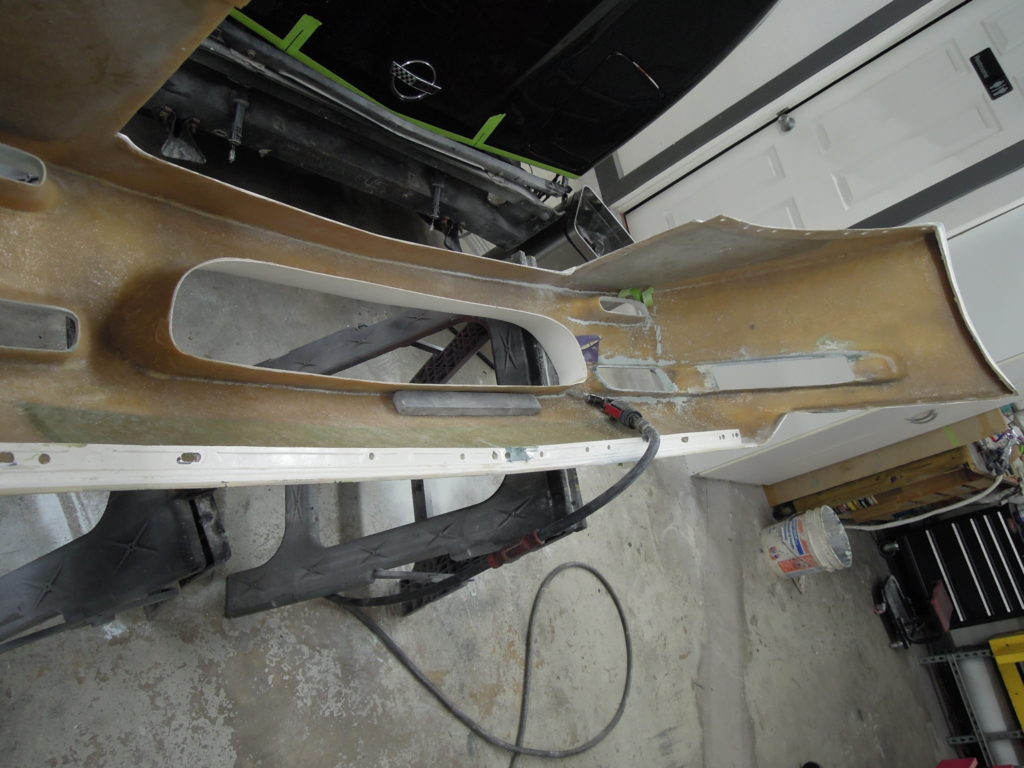
The door opening in this lower fairing was a lot larger than the car’s door opening. We had to “shrink” the opening along front and rearedges and change the contour of the wheel opening.
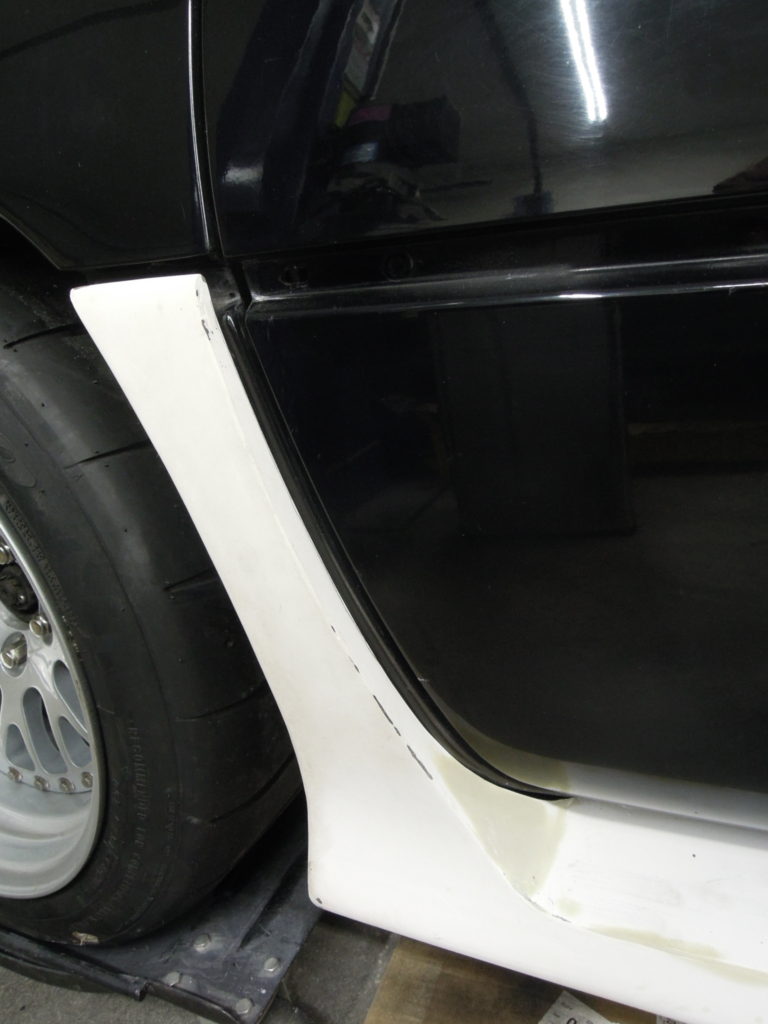
The door sections were made from two parts. One section mounted to the door and the outer section attached to that. The two parts might have matched up OK to each other originally but they had been cut up before we got them. To add to the fun, both pieces were was too big for the door. As a result we had to shrink and shapethe inner piece to fit the doorthen modify the outer piece to match
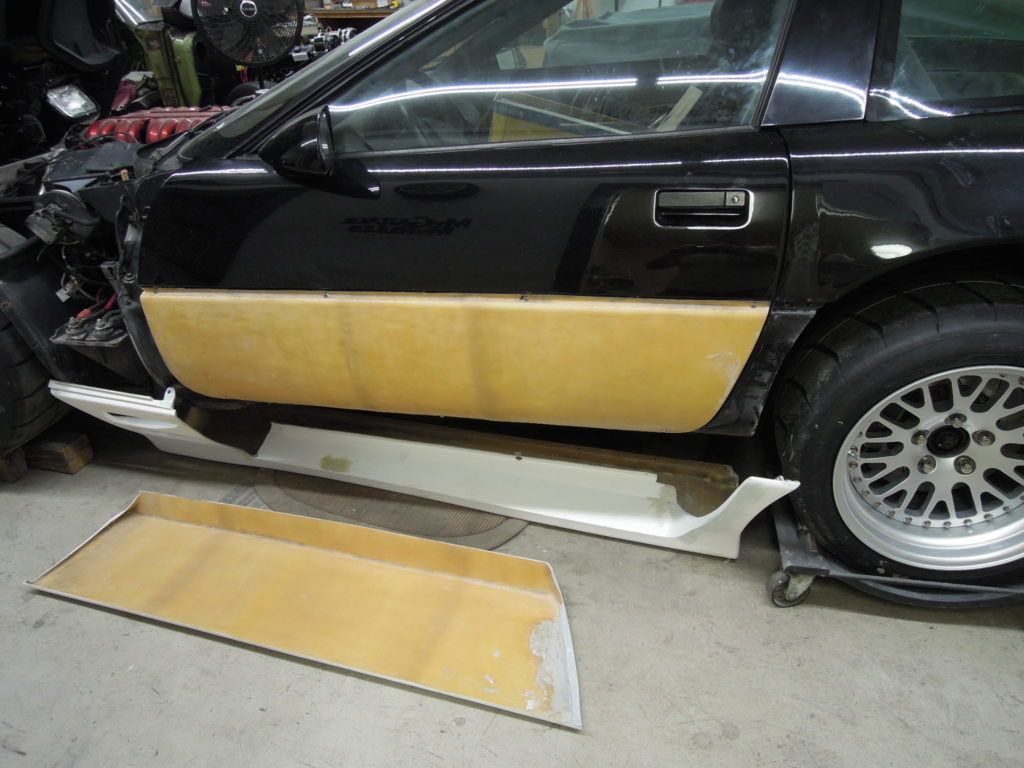
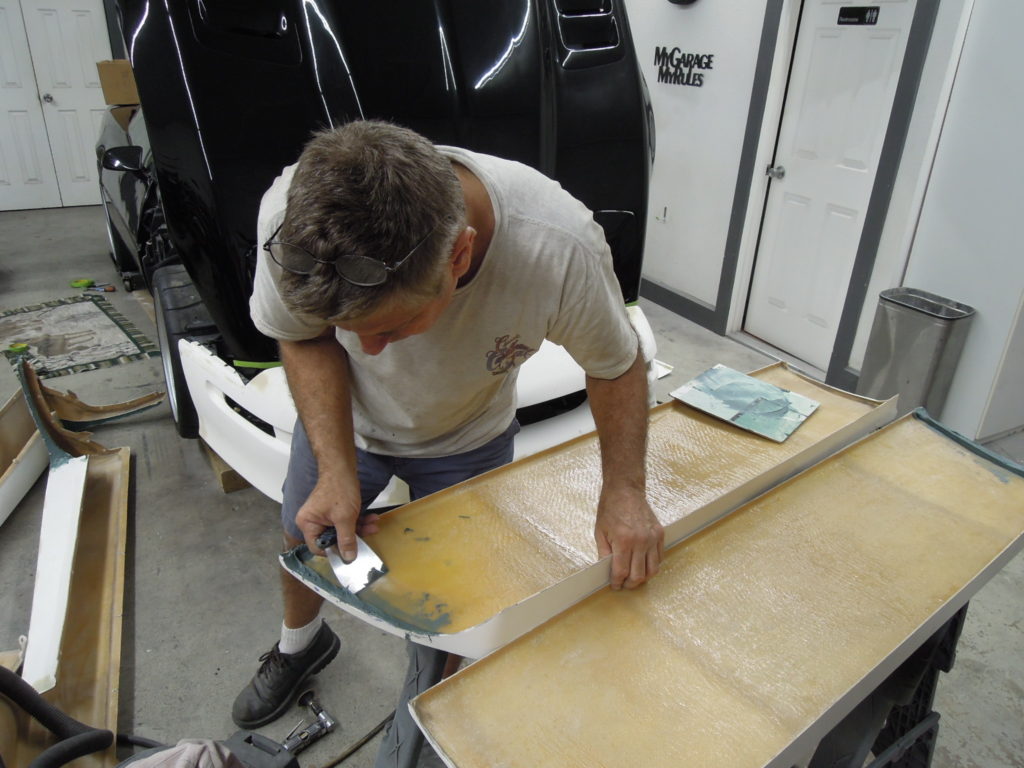
There was no way to mate the two pieces together once the inner panel was attached to the car. Mounting these big panels required bolts in order to survive the rigors of racing. Our solution was to pre-fit and temporarily mount the inner panels to the doors. With all the holes drilled and everything bolted in place, we epoxied the bolt heads to the inner panel. After the epoxy set up, we pulled the panels and applied fiberglass putty over the bolt heads to really lock them in place.
We now had our mounting system in place and could proceed with mating the two sections together.
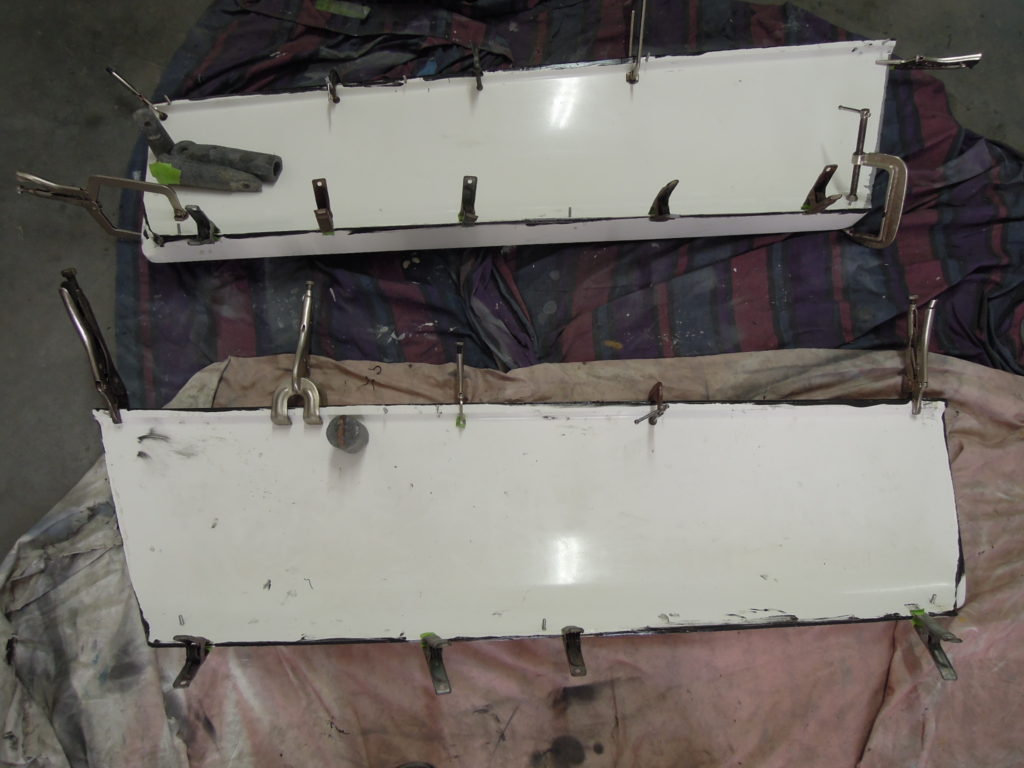
Once the door panels were in their final position, we could use them as index points to shape the surrounding parts.
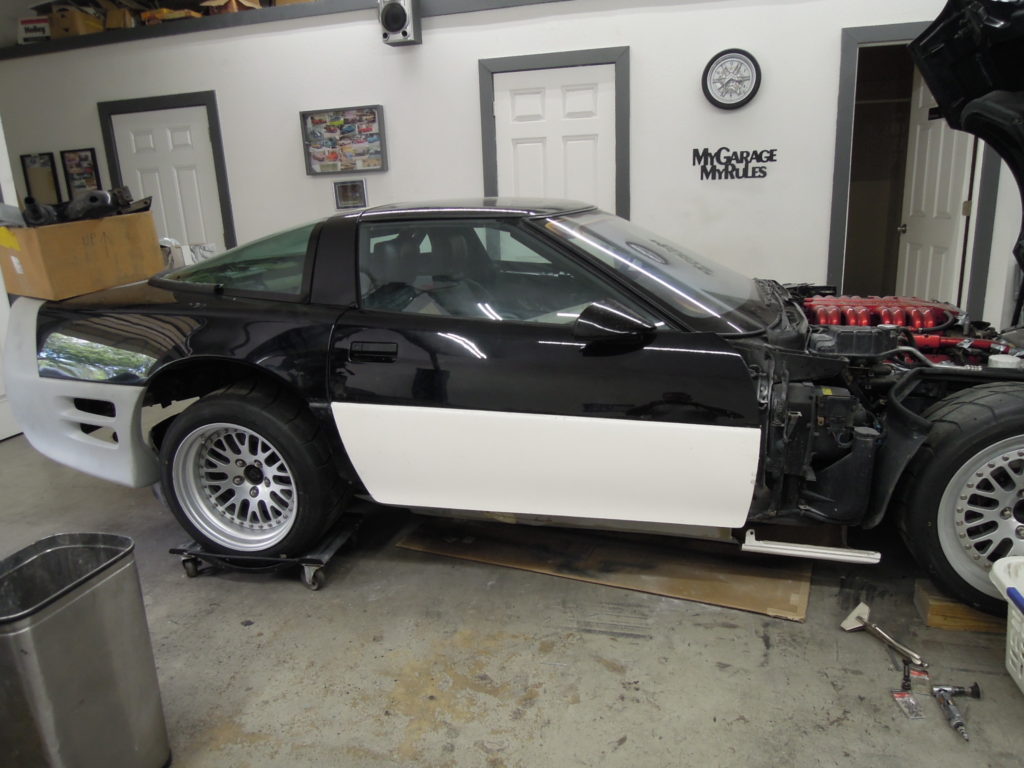
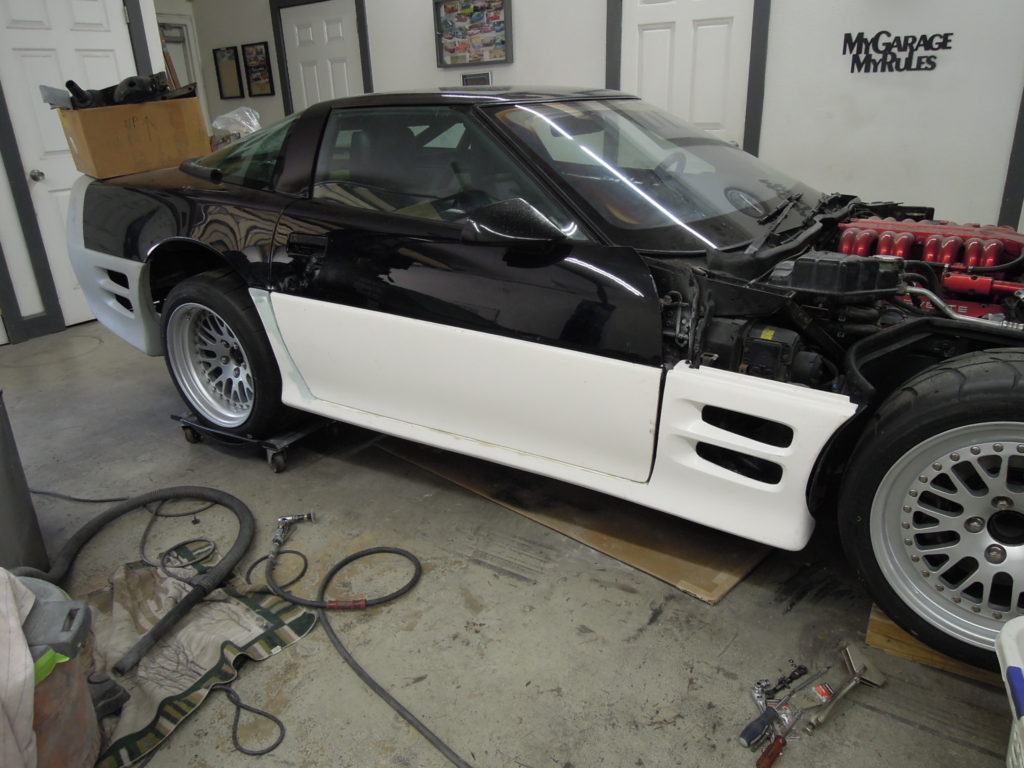
When we saw the final product, all the work and frustration was quickly forgotten. We were staring at one of only four 1990 Lingenfelter ZR1’s with a real Lingenfelter body kit.
